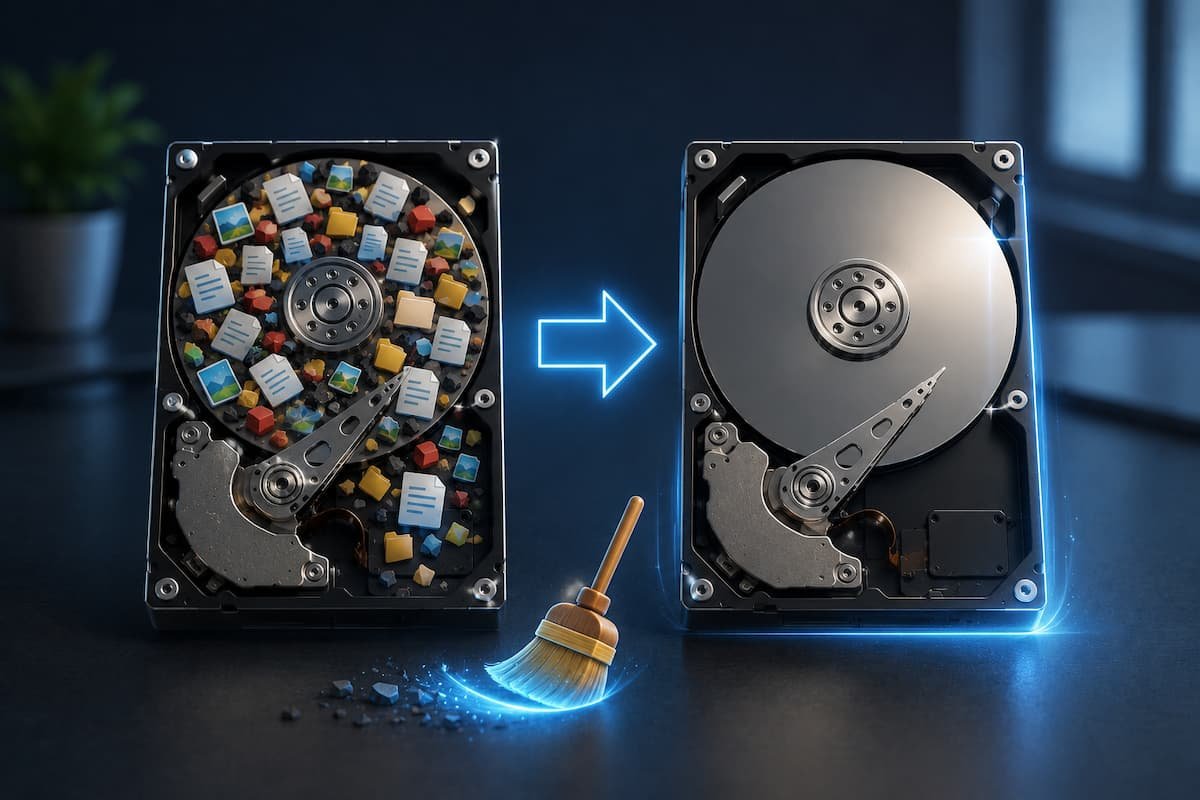
A full hard drive doesn’t announce itself. It accumulates. One day you try to save a file and Windows says no. Or your system starts stuttering because there’s no room for virtual memory. Or updates fail silently because the installer needs 8GB free and you have 600MB.
This method works on any Windows machine. I’ve used it on laptops with 128GB drives crammed to 99%, desktops with 2TB drives that somehow filled anyway, and one ancient netbook that had 4GB total. The scale changes. The method doesn’t.
Step 1: Find What’s Actually Eating Space
Don’t guess. Don’t start deleting random folders. Measure first.
Download WinDirStat (free, open source, no installer if you use the portable version). Run it as administrator. Point it at your C: drive. Wait. On a full 1TB drive this takes 10-15 minutes. Go make coffee.
What you get:
- A treemap where every file is a colored rectangle. Big files are big rectangles. You see space hogs instantly.
- A directory tree sorted by size. The folders at the top are where your space went.
- File type breakdown. Blue is images, red is archives, green is executables, yellow is media. One glance tells you if you’re hoarding videos or drowning in log files.
What You’re Looking For:
Giant rectangles that don’t match their location. A 15GB file in a temp folder. A 40GB block in AppData\Local. A cluster of red in your Downloads. These are your targets. Everything else can wait.
Step 2: The Safe Deletions (Do These First)
These delete nothing you need. They’re low-risk, high-reward, and they work on every Windows machine.
| Location | What It Is | Typical Recovery |
|---|---|---|
| Disk Cleanup (Windows built-in) | Temporary files, recycle bin, old update files, thumbnails | 2-15 GB |
| %temp% folder | Application temporary files, installers that never cleaned up | 1-8 GB |
| Windows Update cleanup | Old update packages kept for rollback | 5-20 GB |
| Browser cache | Downloaded web content, images, scripts | 500 MB – 3 GB |
| Recycle Bin | Files you “deleted” but didn’t | Varies wildly; check first |
To run Disk Cleanup properly: search “Disk Cleanup” in Start, select C:, click “Clean up system files,” wait for the second scan, check everything except “Downloads” (unless you know what’s in there), and confirm. The system files option is crucial — that’s where old Windows updates live, and they’re often the biggest single chunk.
⚠️ Do Not Delete These
Pagefile.sys, hiberfil.sys, swapfile.sys. They’re system files Windows uses for memory management. Deleting them doesn’t free space permanently — Windows recreates them. Moving them is possible but risky for beginners. Leave them alone.
Step 3: The Downloads Audit
Downloads folders are graveyards. Installer files from 2019. PDFs you opened once. ZIP files you extracted and forgot. Photos sent over WhatsApp Web that auto-downloaded. I’ve seen 50GB Downloads folders that the owner thought was “maybe a few files.”
Sort by size. Delete anything over 100MB that you don’t immediately recognize. For everything else, use this rule: if you haven’t opened it in six months and you don’t know what it is, delete it. If you’re wrong, you can re-download it. The internet is still there.
Step 4: Application Bloat
Programs you installed and forgot about. Games you played twice. Trial software that expired and now just updates itself pointlessly. Browser extensions you don’t use (they cache data). Old antivirus software replaced by Windows Defender.
Go to Settings → Apps → Installed apps. Sort by size. The top entries are your decisions:
- Do I use this? (Be honest. “Might use someday” means no.)
- Can I get it back easily if I need it? (Steam games, yes. Obscure CAD software, maybe not.)
- Is there a web version that’s good enough? (Desktop Slack vs. browser Slack — same functionality, zero disk space.)
Common Space Hogs to Question:
Adobe Creative Cloud (2-5GB even if you don’t use it), Spotify offline cache (can grow to 10GB+), Microsoft Teams (caches everything locally), old Visual Studio versions (15GB+ each), game launchers with downloaded but uninstalled games.
Step 5: User Folders You Forgot
Documents, Pictures, Videos, Music. The obvious places. But also:
- Desktop: Every file on your desktop loads into memory at startup. A cluttered desktop is a slow desktop. Move files to proper folders.
- AppData\Local: Hidden by default. Type %localappdata% in File Explorer. Contains application data, caches, crash dumps. Some apps never clean up. I’ve found 8GB of old Chrome GPU caches here.
- OneDrive local copies: If you use OneDrive with “always keep on this device,” you’re storing local copies of cloud files. Switch to “free up space” for folders you don’t access daily.
Step 6: Large File Hunt
After WinDirStat, you know where the big files are. Now decide:
| File Type | Decision Rule | Alternative |
|---|---|---|
| Videos | Move to external drive or cloud | Compress with HandBrake if quality allows |
| Photos | Deduplicate first, then cloud storage | Google Photos, iCloud, or NAS |
| ISO files / installers | Delete if you can re-download | Keep on external drive if rare |
| Old backups | Keep newest, delete rest | Automate with proper backup tool |
| VM images / dev environments | Archive to external if inactive | Use cloud VMs instead of local |
Step 7: Verify Before You Celebrate
Run WinDirStat again. Compare the treemap. The big rectangles should be smaller or gone. Check Properties on C: — note the free space. If you started at 99% full and you’re now at 80%, that’s a win. If you’re still at 95%, you missed something. Go back to Step 2.
Restart the machine. Windows needs a reboot to fully clean some update files. Check free space again after restart. Sometimes you gain another 2-3GB.
The 20% Rule
Windows performs badly below 15-20% free space. Updates fail, defragmentation can’t run, system restore points stop creating. Your target isn’t “some free space.” It’s at least 20%. On a 500GB drive, that’s 100GB. Sounds like a lot because it is. That’s the point.
When This Isn’t Enough
Sometimes the drive is genuinely too small. A 128GB drive on a modern Windows machine is barely functional — the OS takes 30GB, updates need 20GB temporary, and you’re left with crumbs. No amount of cleaning fixes insufficient hardware.
Options:
- External storage for files, keep OS and apps on internal
- Cloud storage with files set to online-only
- SD card expansion (for laptops with slots, though slow)
- Upgrade the drive — clone to larger SSD, replace, done
The last option is best if the machine is worth keeping. A 500GB SATA SSD costs under $40. The time you spend cleaning a 128GB drive every month is worth more than that.
Maintenance: 10 Minutes a Month
Cleaning once is therapy. Cleaning monthly is prevention. I run Disk Cleanup on the first Sunday of each month. Takes three minutes. I check Downloads every two weeks. Takes five minutes. I run WinDirStat quarterly to catch anything growing unexpectedly. Takes ten minutes.
Total time investment: less than one hour per year. Compare that to the hours lost to a full, slow drive.
Related Articles
- How I Fixed Slow Startup on an Old Laptop — A full drive often causes slow boot. This is how I diagnosed and fixed startup delays on a machine that was 94% full.
- How to Clean Up Duplicate Files Without Removing Important Data — Duplicate photos and documents are common space hogs. This method finds them safely.
- How I Migrated All Files to a New Computer Safely — If your drive is too small to fix with cleaning, here’s how to move everything to a new machine without losing data.
- Organizing Downloads Before They Become Cluttered — The Downloads folder is where most space disappears. This system prevents the buildup.
- Setting Up Automatic Backups for Important Files — Before you delete anything, make sure your important files are backed up. This is the setup I use.
Sources and References
- WinDirStat. “Windows Directory Statistics.” windirstat.net — Open-source disk usage analyzer used throughout this method.
- Microsoft Support. “Delete files using Disk Cleanup.” support.microsoft.com
- Microsoft Docs. “Understanding virtual memory and paging file.” docs.microsoft.com
- HandBrake. “Open source video transcoder.” handbrake.fr — Used for compressing large video files when moving them isn’t an option.
This guide was written after cleaning drives on twelve different machines over two years, ranging from a 32GB netbook to a 4TB video editing workstation. The method is the same regardless of scale because the problem is always the same: files accumulate faster than people notice.

Daniel Kareem is a digital productivity and technology writer focused on simplifying everyday tech use. He creates practical guides on online safety, device optimization, and efficient workflows. His approach centers on clear, step-by-step advice that helps users stay organized, secure, and productive. Through straightforward and realistic content, he aims to make technology easier to understand and more useful in daily life.